Pumpkin Carving

You have picked your perfect pumpkin and now it’s time for the most fun part of all – pumpkin carving! Whether you are going for a traditional jack-o-lantern grin or something so complex it’s scary, nothing beats partaking in this quintessential Halloween activity. Here are some tips, templates, and safety reminders to help you have a fun and safe time as you carve.

Prepare Your Space & Pumpkin

Before you begin crafting your jack-o-lantern masterpiece, first you must prepare your space and your pumpkin. Clean and clear a space and cover it with newspapers or a plastic garbage bag to keep pumpkin goop from getting too messy and out of hand in your space. I keep two bowls nearby: one for the pumpkin seeds and another for the innards I am going to scoop out. Lastly, gather your tools:

  • A Serrated Knife to cut the top of the pumpkin
  • A Spoon to scoop out the innards
  • A Marker for drawing your template
  • Various carving tools to make your design

Once you have everything set, prepare your pumpkin:

  • Before carving wash the pumpkin with warm water and let it dry. 
  • Cut a lid into the top of the pumpkin with a serrated knife. 
    • A circle around the stem about 4″ – 6″ in diameter (depending on the size of the pumpkin) works well. You should be able to easily fit your hand inside to scoop out the innards.
    • Cut at an angle, not straight down! This will ensure the lid stays in place when put back on instead of falling to the bottom. 
    • Alternatively, you can cut the hole on the bottom of the pumpkin, so that a candle can be placed on the base and the jack-o-lantern is set atop it. 
  • Scoop out the seeds and pulp. 
    • You can save the seeds and cook them later. 
    • Scrape the inside of the pumpkin walls until the pumpkin is about 1″ – 2″ thick. 

Designing Your Pumpkin

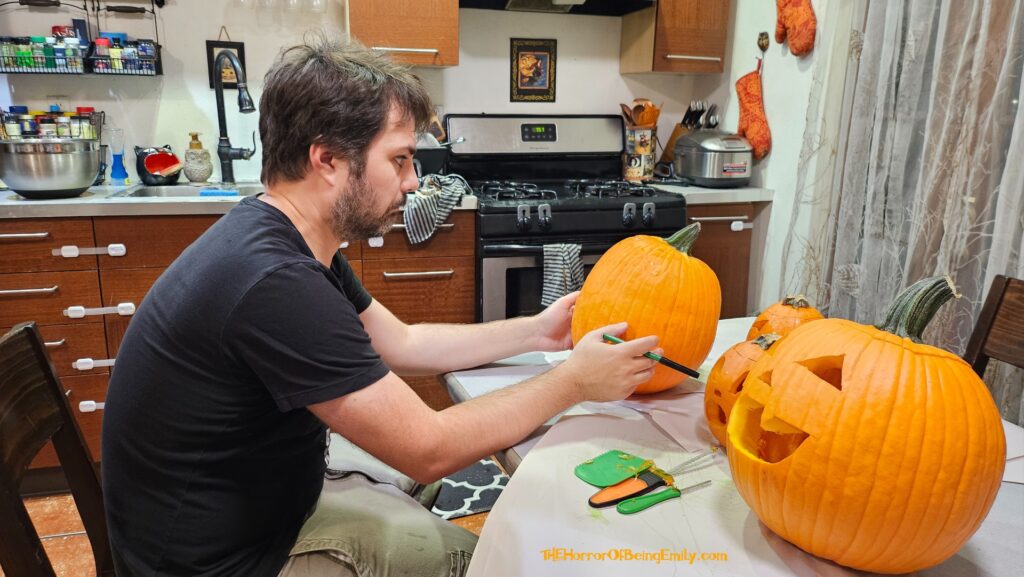
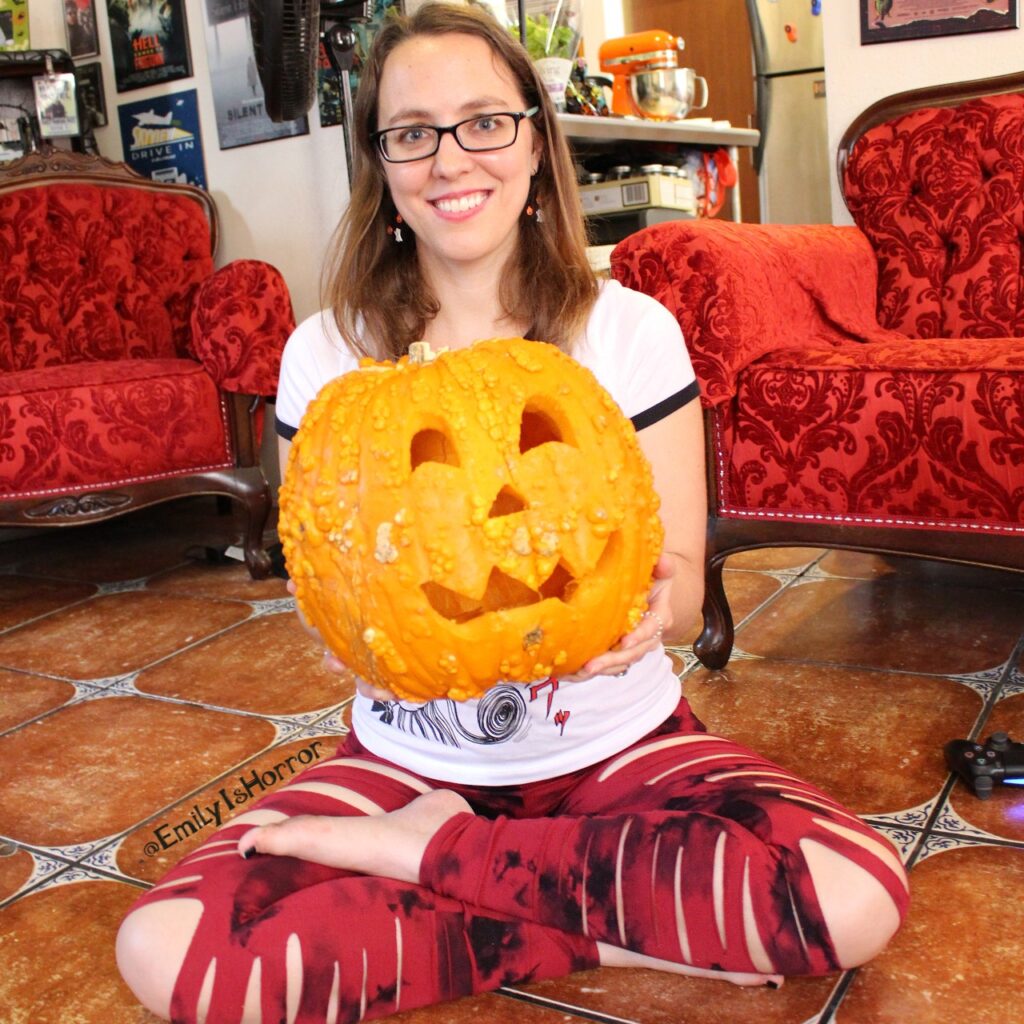
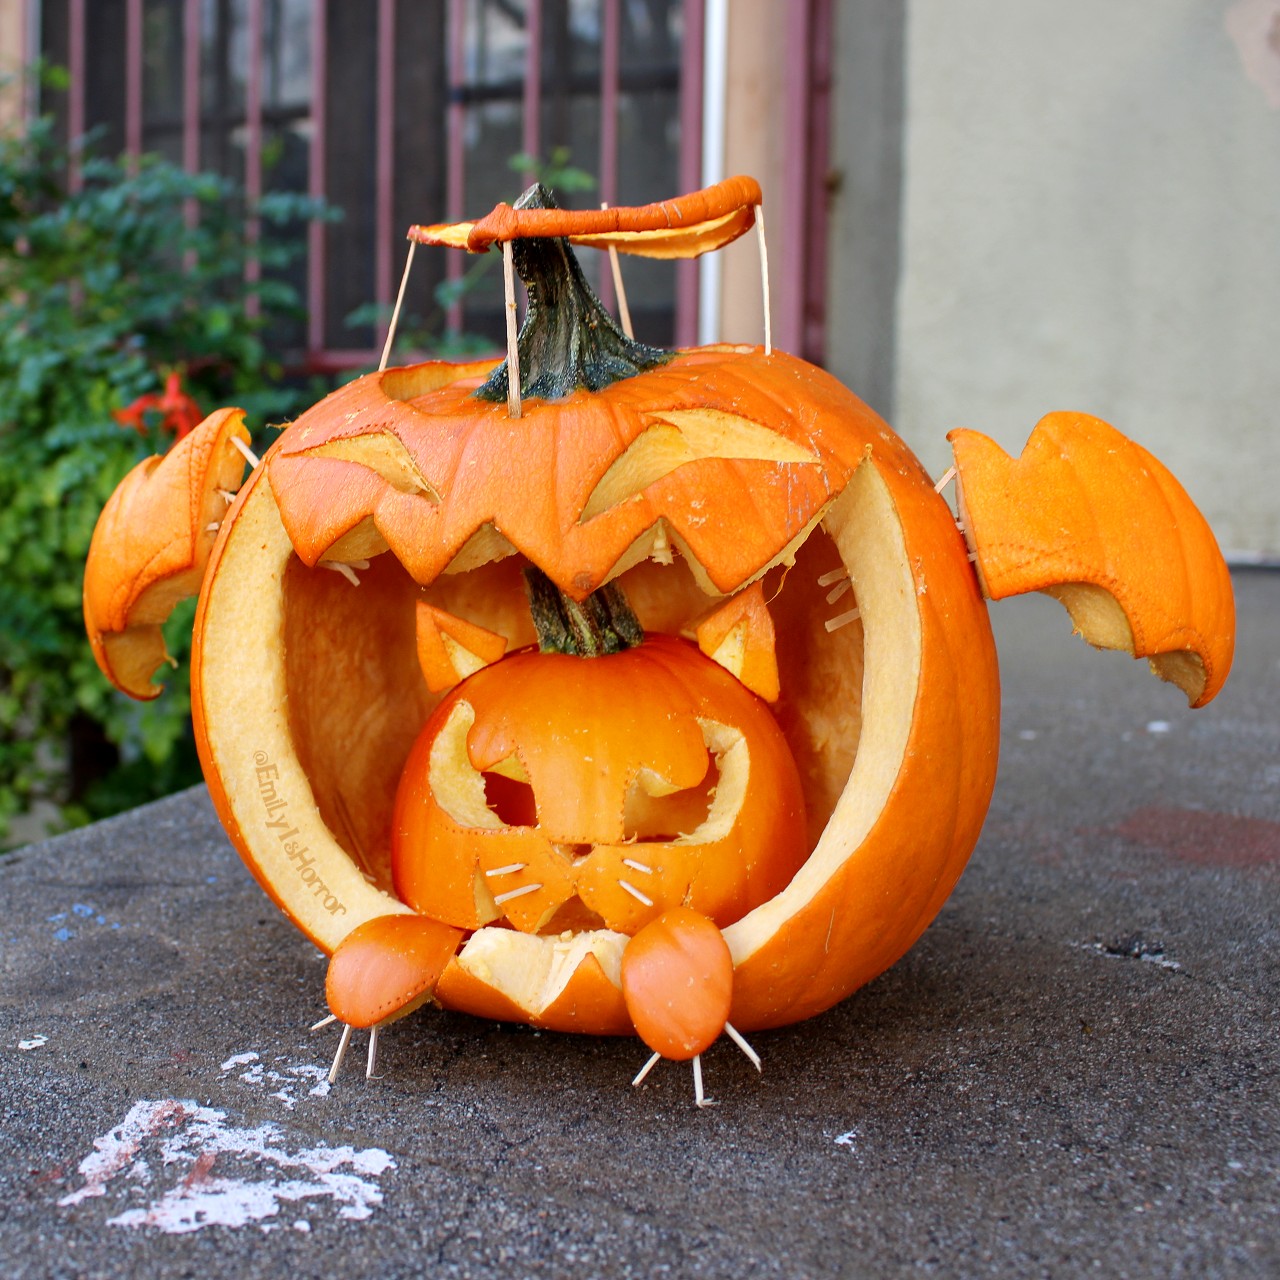
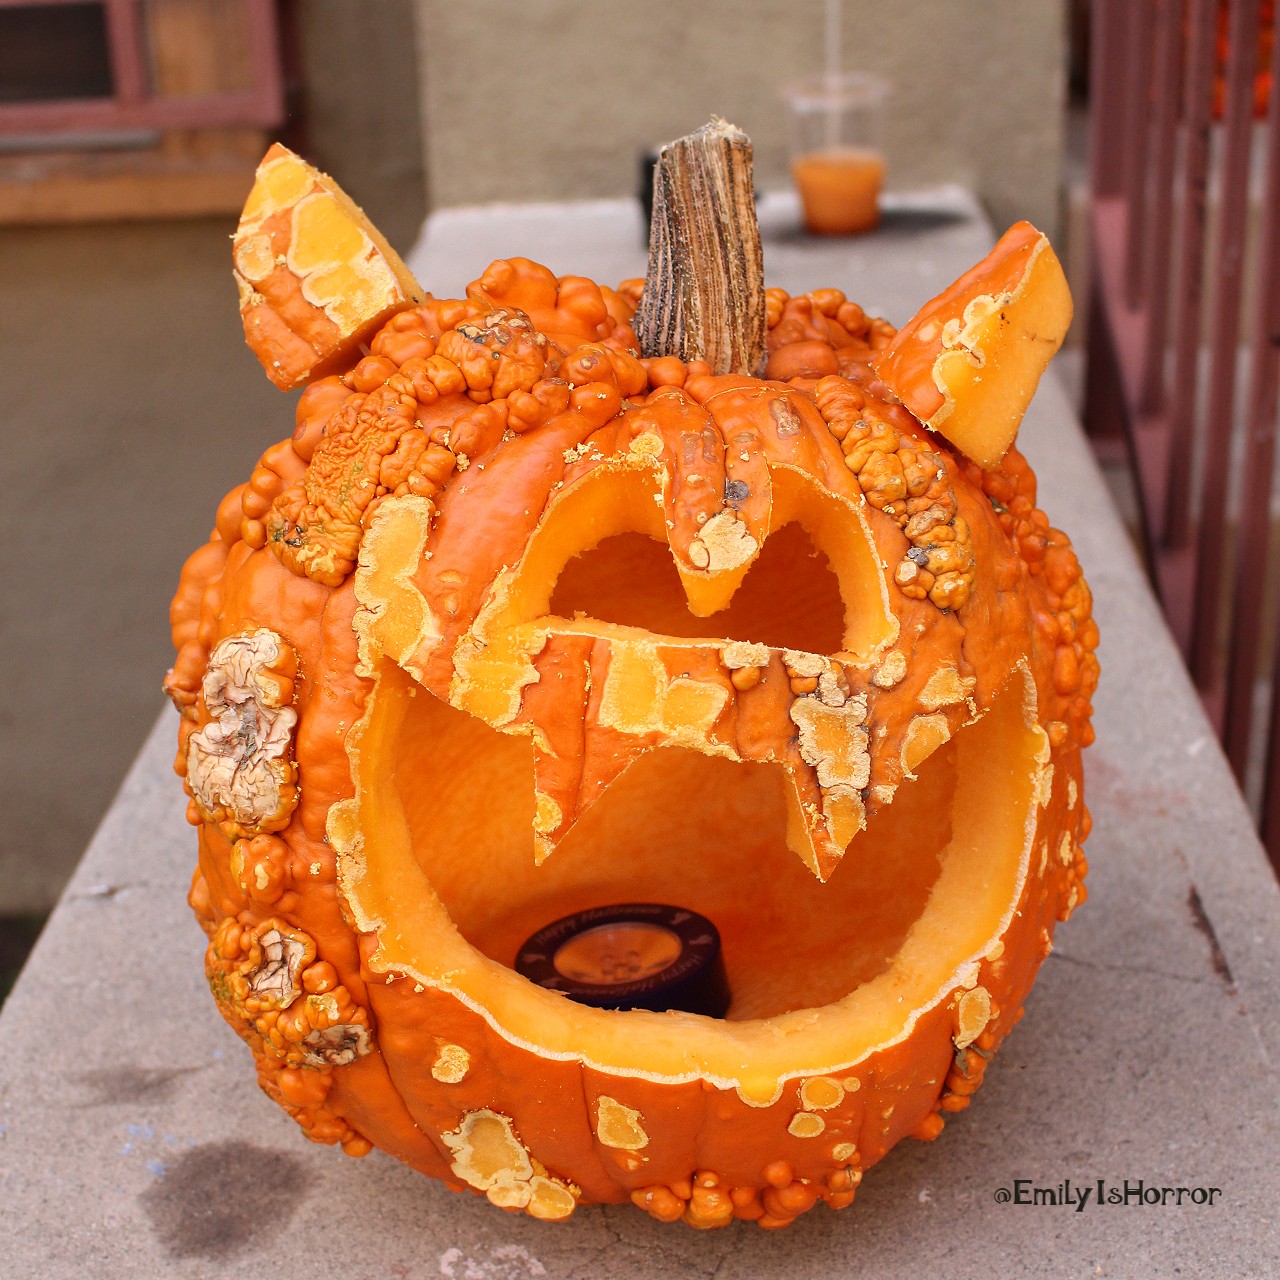
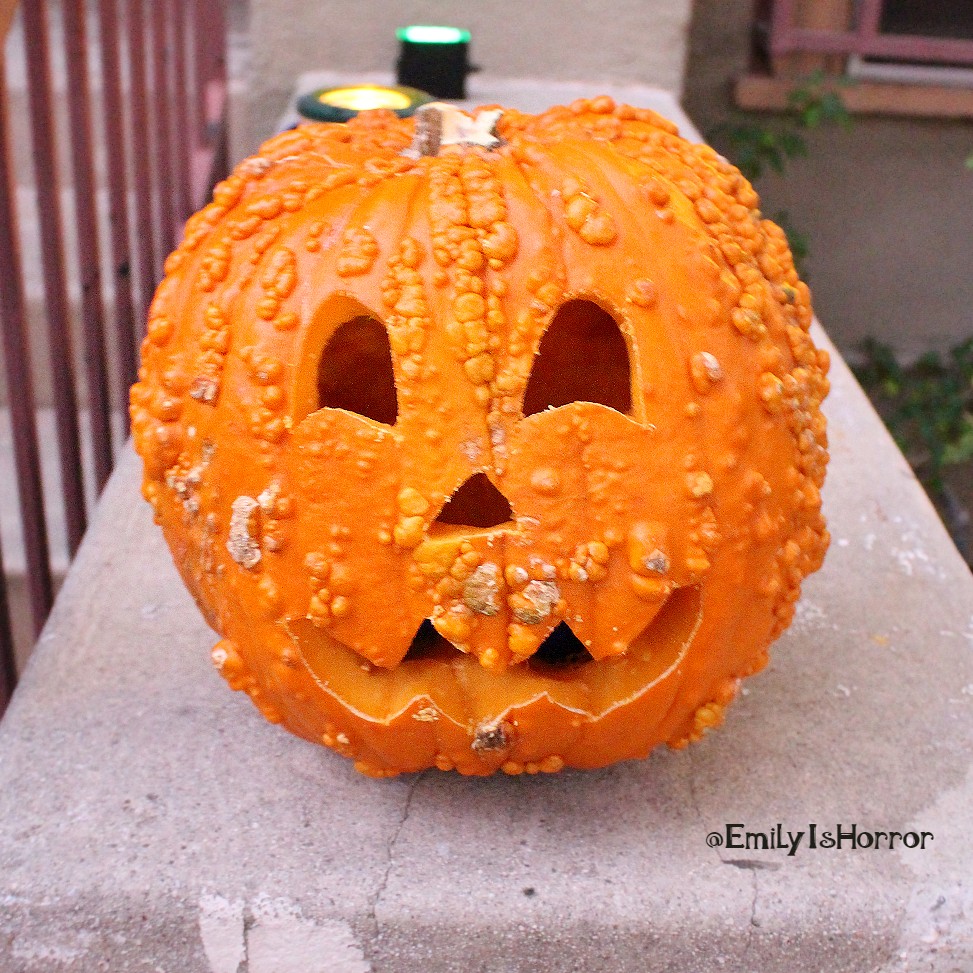
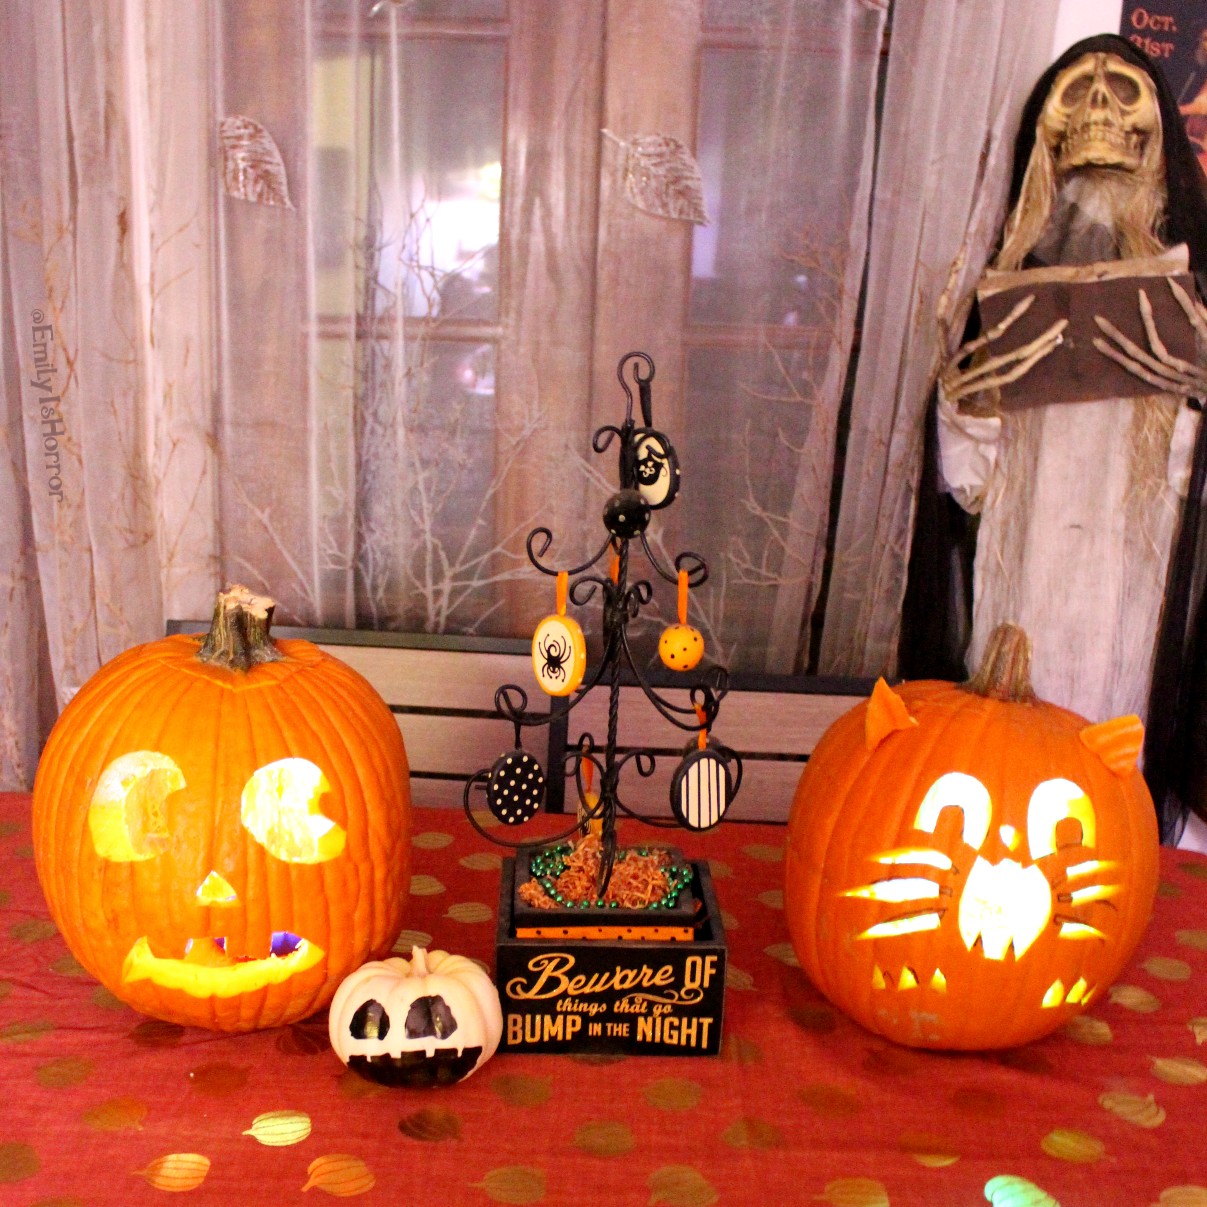
There is no limit to the creative ways you can carve and decorate your pumpkins. I am personally a fan of a traditional jack-o-lantern grin, which I often free-hand by drawing the design on the pumpkin with a marker before carving. Some years, however, my Honey-bunny, roommate, and I go all-out with templates and more complex designs. 

Here are a few sites I use for inspiration and templates:

Either use a washable marker to make your design on the pumpkin or use a template and poke holes in the pumpkin to outline a stenciled design. 

Cut along the outlines with a serrated knife or carving tool. Start with large, rough cuts to get rid of the larger sections, then use smaller tools for the more precise and small cuts.

Preserving Your Pumpkin

Depending on weather conditions, a carved pumpkin will only last seven to ten days. Some people suggest rubbing petroleum jelly around the cut edges of a pumpkin to create a protective layer that will slow mold and bacteria from growing on the pumpkin. Storing the jack-o-lantern in a cool, dry place can also help to extend its shelf-life. 

Safety Tips

All the scares on Halloween should come from monsters, ghosts, and ghoulies, not from real danger. So, keep these safety tips in mind while carving pumpkins:

  • When carving a pumpkin, keep a firm grip on the blade and always cut away from yourself. Consider using pumpkin-carving tools instead of kitchen knives.
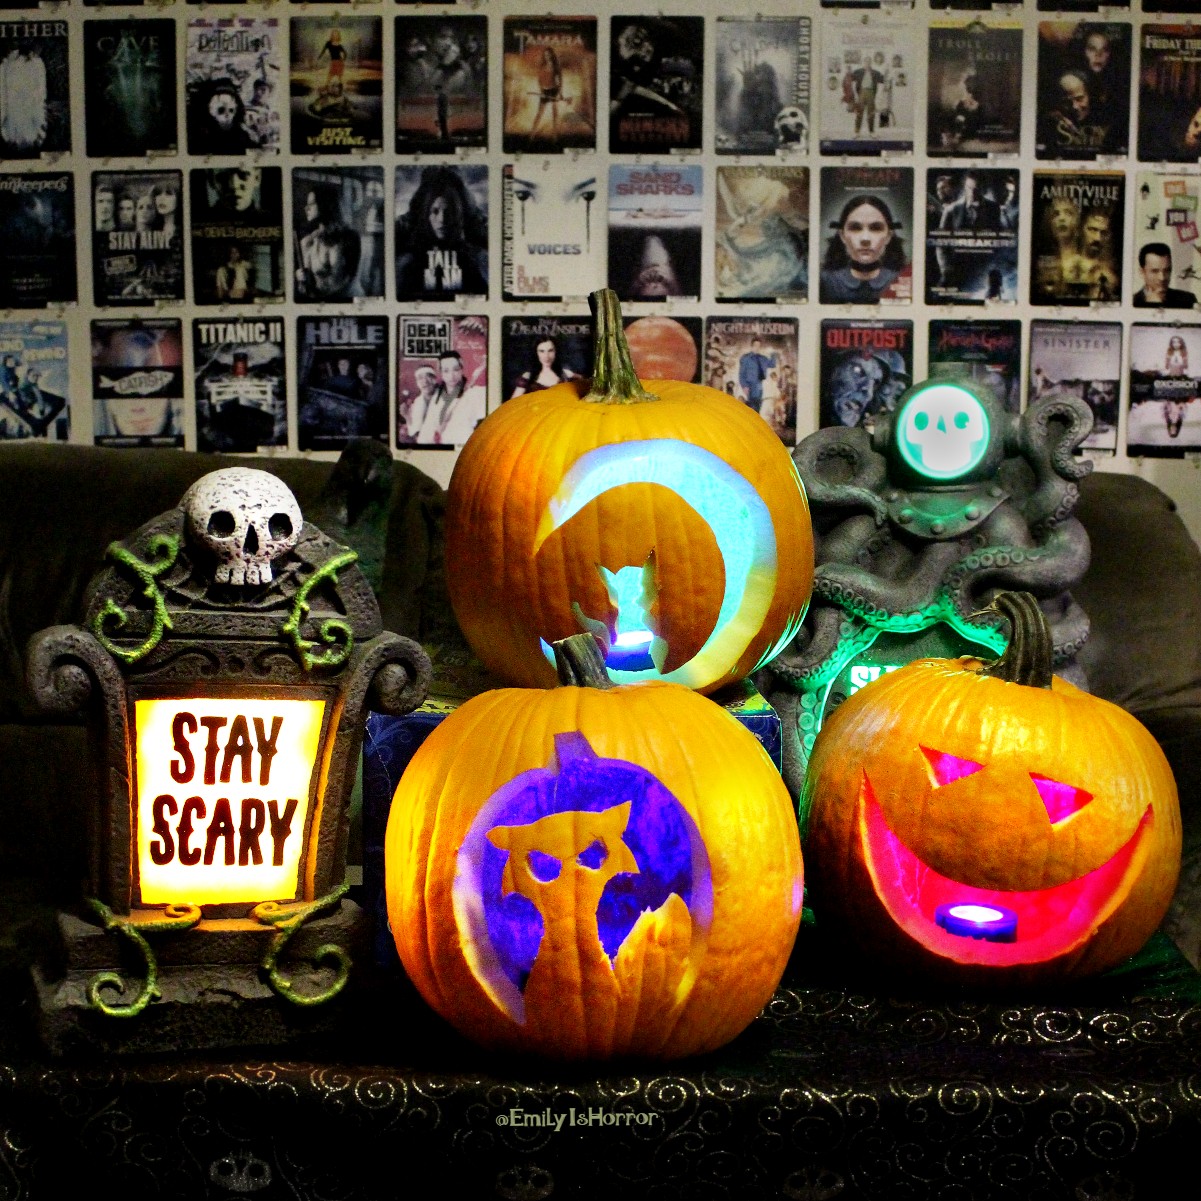
  • Use battery-operated lights instead of candles for your jack-o-lantern. Not only do you reduce your risk of fires, but the LED lights can create cool and creepy effects.

Now go out and have fun making a jack-o-lantern you love! 

I’d love to see your creepy, cute, and spooky creations. Share photos of your pumpkins with me on Facebook & Instagram.


Pumpkin Carving

You have picked your perfect pumpkin and now it’s time for the most fun part of all – pumpkin carving! Whether you are going for a traditional jack-o-lantern grin or


Read More »

Cat Costumes

Each Halloween it is time to dig out the cat costumes and put my loyal familiars through a humiliating photo shoot. They are good sports about it and receive plenty
Read More »

Halloween Yard Display

Each year I take my Halloween yard display very seriously. While I spent many years in an apartment building in an area of town where I couldn’t keep items out


Read More »