Categories
Food Lifestyle

Apple Pie Recipe

Apple Pie Recipe

Apple pies are my favorite autumn-inspired desserts. They bring memories of harvests and autumn farm visits, and are a very easy pie to make for beginner bakers.

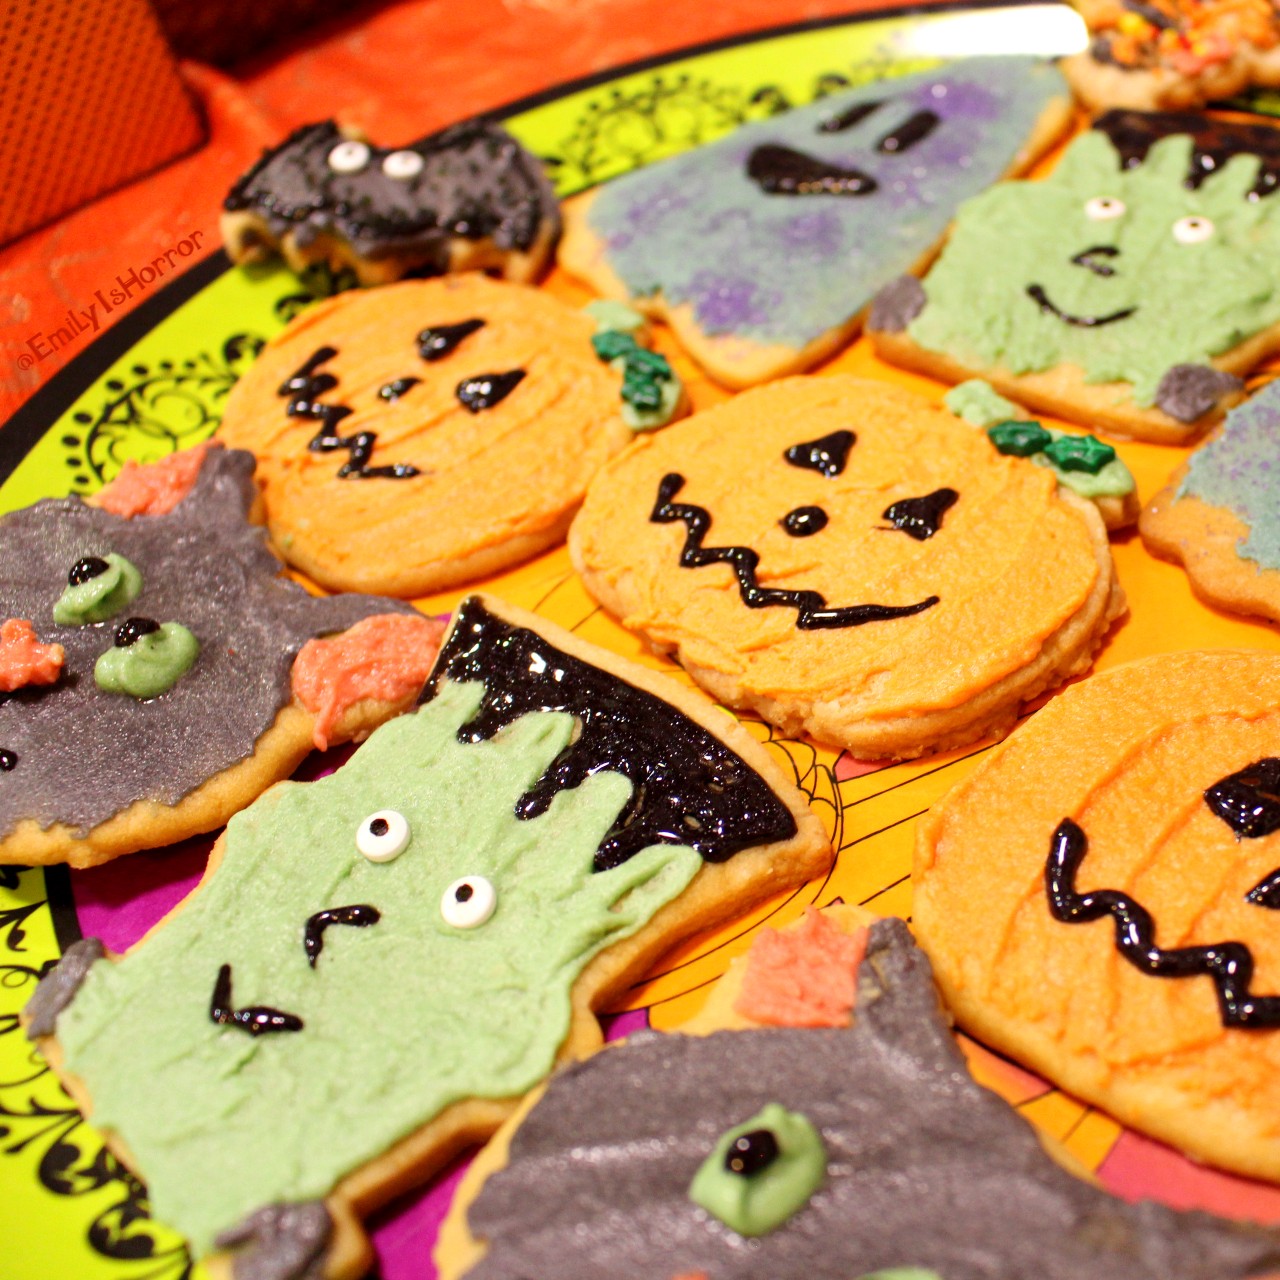
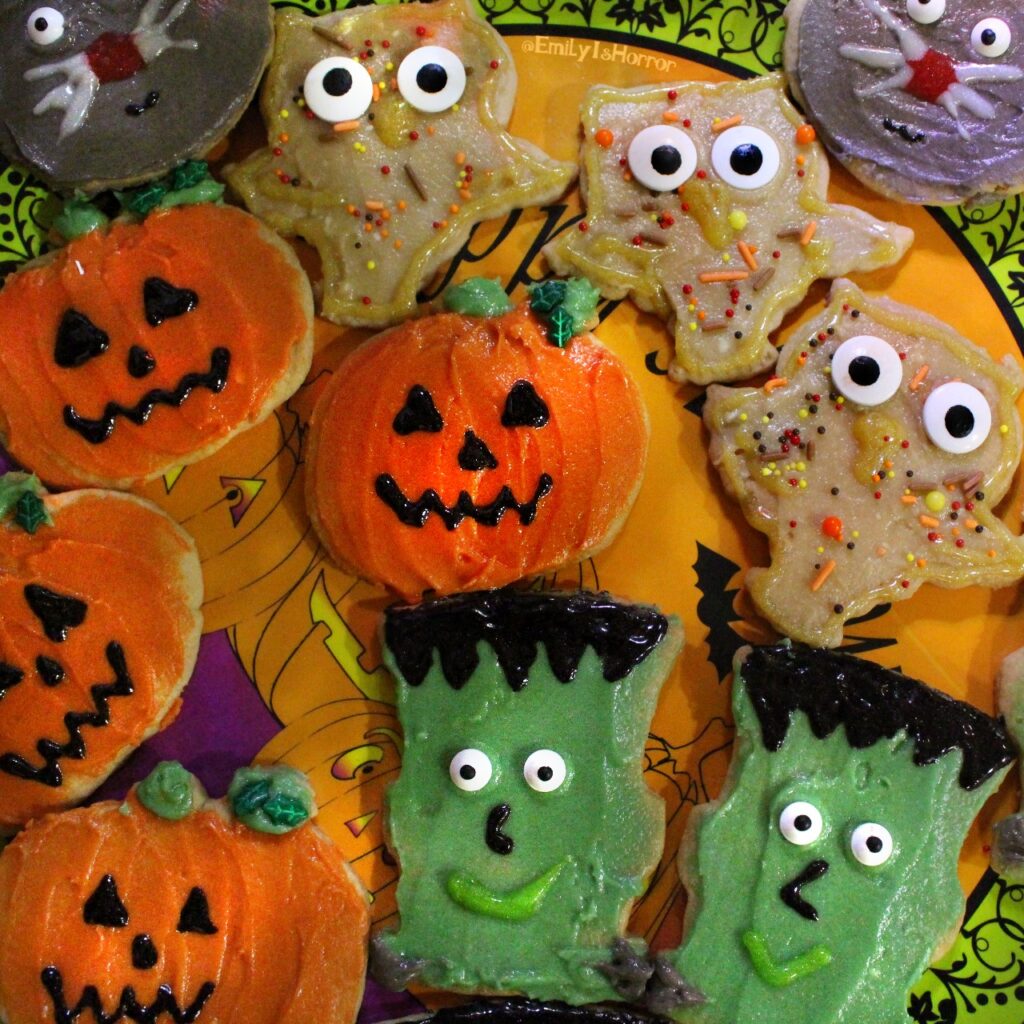
Below is my personal recipe that I have been perfecting since I was thirteen years old. My great-grandmother used to make all sorts of pies and I grew up hearing how much everyone missed the desserts at family gatherings. So, I decided to experiment with making my own signature sweet crust pies, starting as a 4th of July tradition and then expanding out to Thanksgivings and other friend and family gatherings. Of course, I also learned how to add my own fun Halloween season twists to keep everything in line with my spooky interests.  

Grab a pie pan, rolling pin, cookie cutters, and ingredients – let’s start baking!

Step-By-Step Apple Pie Recipe

  1. Add two cups flour to a medium bowl. Cut in 1 ⅓ cups butter and ¼ cup brown sugar with a pastry cutter or fork until particles are the size of small peas. Salted butter works best here, but if you use unsalted, be sure to add a pinch of salt to the flour). 
  2. Sprinkle with cold water, 1 tablespoon at a time, tossing with a fork (or mixing with a dough hook – if using a stand mixer) until all the flour is moistened and the pastry leaves the sides of the bowl. You may use up to ⅔ cup water here.
  3. Cut the dough in half and gather into two balls. Shape each into a flattened round on a lightly floured surface. Wrap the pastry round in plastic wrap and refrigerate for about 45 minutes or until the dough is firm and cold, yet pliable. If you refrigerate too long and the dough becomes rock hard, let it soften before rolling.
  4. Roll one pastry round on a lightly floured surface, using a floured rolling pin. I sometimes use floured wax paper to keep the dough from sticking to my rolling pin. The dough circle should be 2-3 inches longer than your pie plate. Fold the dough in half and slide it over your plate. Unfold and ease it into the plate, pressing firmly against the bottom and side.
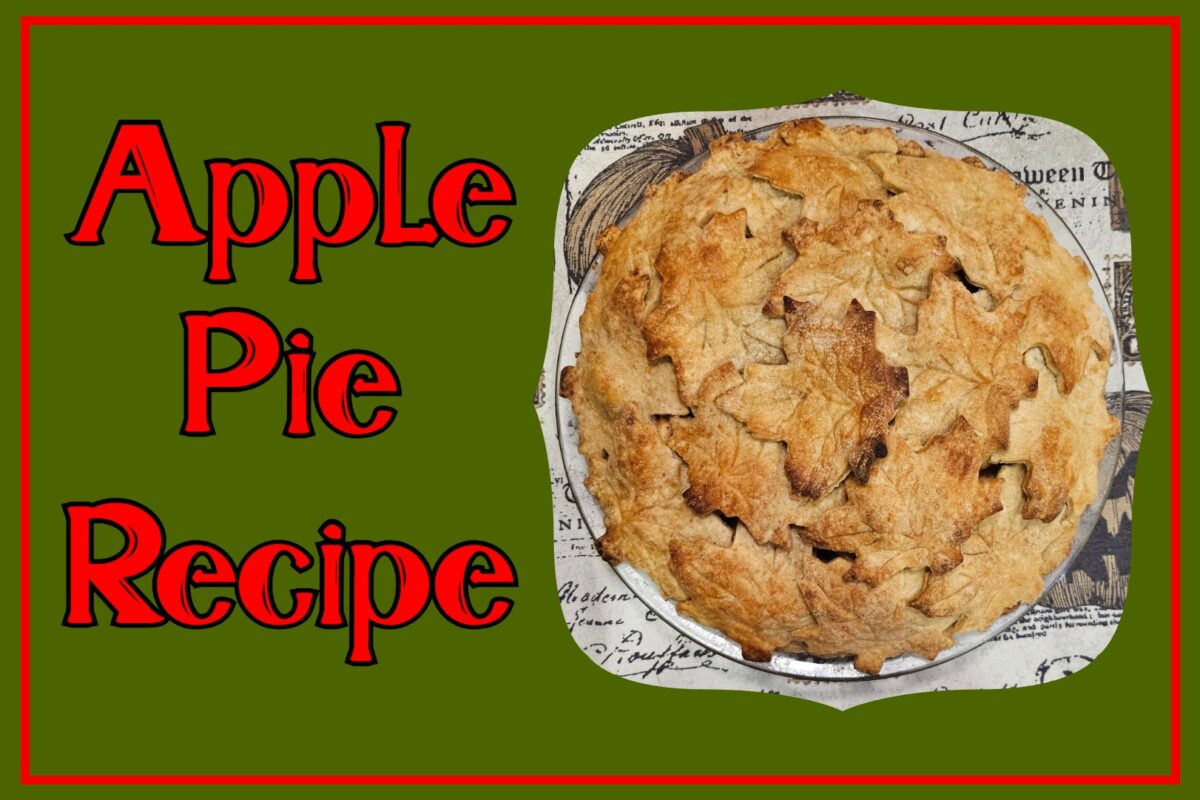
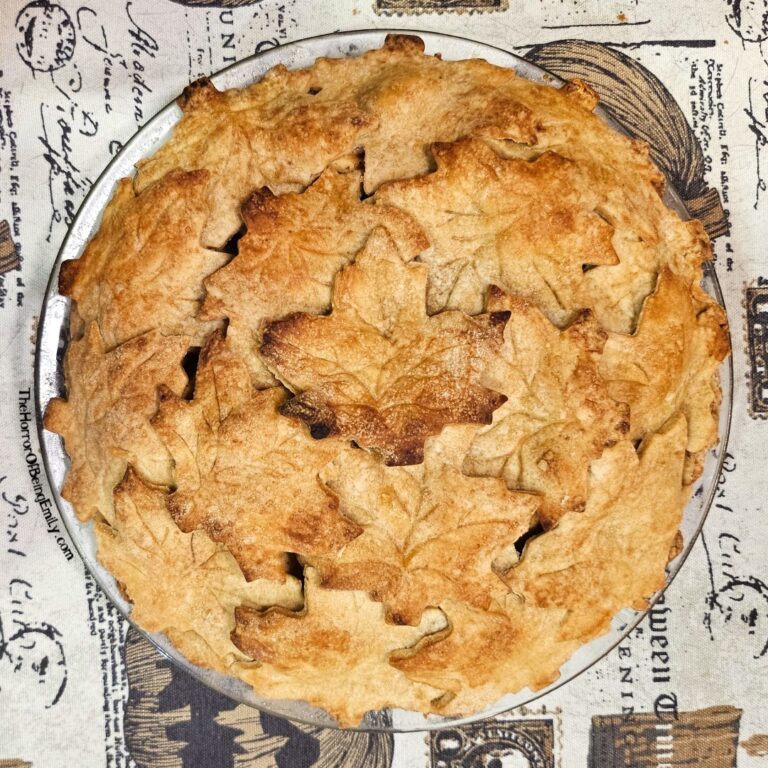
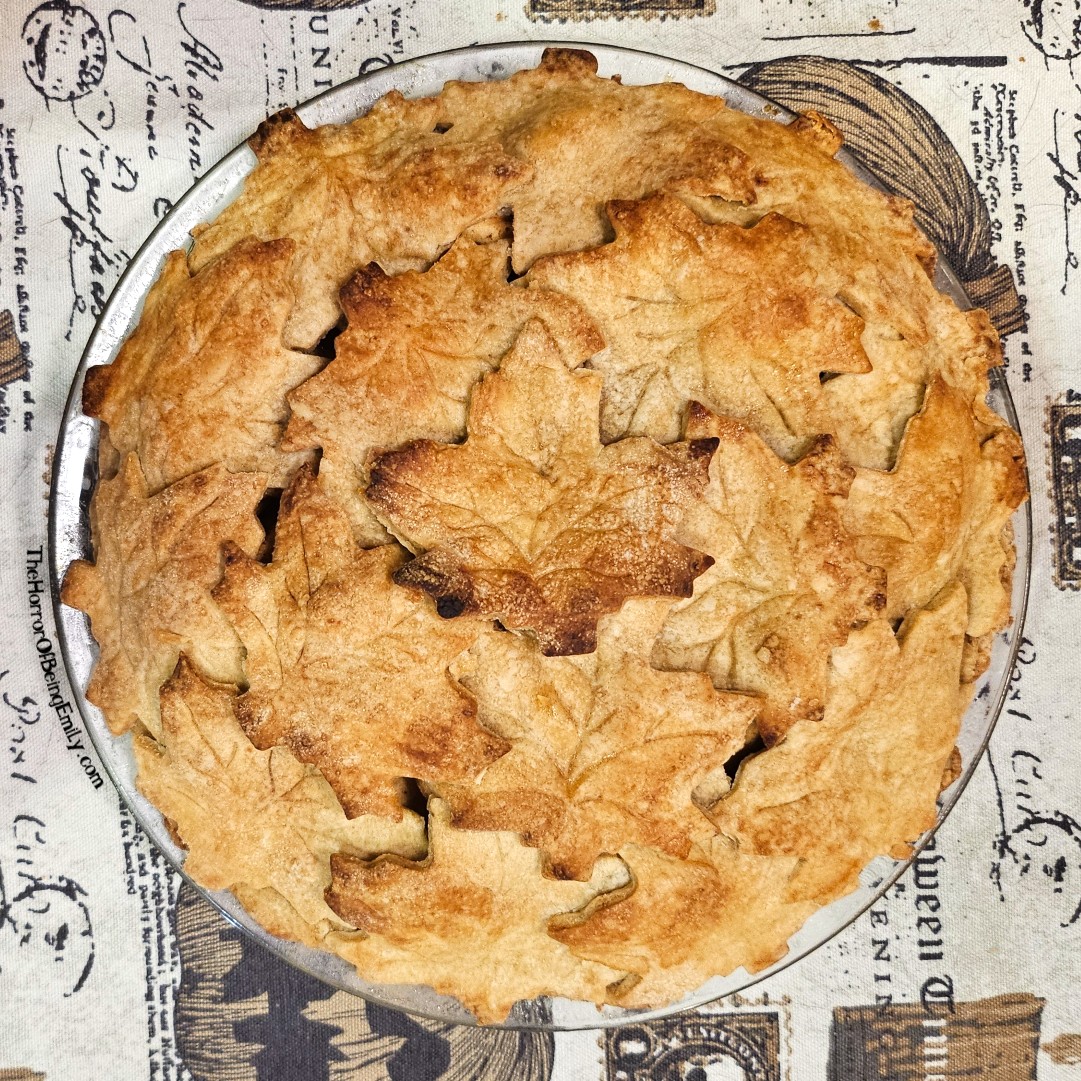
  5. Roll the second pastry round on a lightly floured surface and roll out again to about a ¼ inch thickness. Take a cookie cutter and cut out a variety of dough shapes. Set them aside. Combine any scraps, re-shape into a ball, and repeat the roll & cut process until you have used up all the dough.
  6. Heat your oven to 425°F. 
  7. Peel 8-9 Granny Smith apples and slice them thinly.
  8. In a large bowl, mix ¾ cup brown sugar, 2 tablespoons nutmeg, 3 tablespoons cinnamon, and 2 tablespoons flour. Stir in the apples until they are fully coated with the sugar & spice mixture. Spoon the apples into a pastry-lined pie plate. 
  9. Cover the top of the pie with the cut-out dough pieces to form a pattern as desired. Be sure that there are some holes or slits for the pie to vent while cooking.
  10. Crack and lightly beat one egg (or mix 1 tablespoon maple syrup with 1 tablespoon water for a vegan version). Brush the mixture onto the top of the crust. This will help the crust to brown while backing. 
  11. Cover the pie crust edges with foil to prevent burning. 
  12. Bake 40-50 minutes or until the crust is golden brown and juice begins to bubble through the slits in the crust. 
  13. Cool on a wire rack at for least 2 hours. 

Recipe

Emily Louise Rua

Emily's Apple Pie

Sweet Crust Apple Pie
Cook Time 45 minutes
Servings: 8 Slices
Course: Dessert
Cuisine: American
Calories: 570

Ingredients
  

Crust
  • 2 cups Flour
  • 1 ⅓ cups Butter (or Vegan Butter) Softened
  • cup Water
  • ¼ cup Brown Sugar
Filling
  • 8-9 Granny Smith Apples Peeled & Thinly Sliced
  • ¾ cup Brown Sugar
  • 2 tbsps Nutmeg
  • 3 tbsps Cinnamon
  • 2 tbsps Flour
Egg Wash
  • 1 Egg Lightly Beaten (Optional)
Vegan Alternative Wash
  • 1 tbsp Maple Syrup
  • 1 tbsp Water

Equipment

  • Pie Plate
  • Stand Mixer with Dough Hook (optional)
  • Pastry Cutter (optional) A fork can work too
  • Pastry Brush
  • Rolling Pin
  • Cookie Cutter (optional)

Method
 

  1. Add flour to a medium bowl. Cut in butter and brown sugar with a pastry cutter or fork until particles are the size of small peas.
  2. Sprinkle with cold water, 1 tbsp at a time and toss until all the flour is moistened and the pastry leaves the sides of the bowl. (You may not use the entire ⅔ cup water).
  3. Cut the dough in half and gather into two balls. Shape each into a flattened round on a lightly floured surface. Wrap the pastry in plastic wrap and refrigerate for about 45 minutes or until the dough is firm and cold, yet pliable. If refrigerated longer, let pastry soften before rolling.
  4. Roll one pastry round on a lightly floured surface, using a floured rolling pin. The dough circle should be 2-3 inches longer than your pie plate. Fold the dough in half and slid it over your plate. Unfold and ease it into the plate, pressing firmly against the bottom and side.
  5. Roll the second pastry round on a lightly floured surface and roll out again to about a ¼ inch thickness. Take a cookie cutter and cut out a variety of dough shapes. Set them aside. Combine any scraps, re-shape into a ball, and repeat the roll & cut process until you have used up all the dough.
  6. Heat oven to 425°F. 
  7. Peel 8-9 Granny Smith apples and slice them thinly.
  8. In a large bowl, mix brown sugar, nutmeg, cinnamon, and flour. Stir in the apples until they are fully coated with the sugar & spice mixture. Spoon the apples into a pastry-lined pie plate. 
  9. Cover the top of the pie with the cut-out dough pieces to form a pattern as desired. Be sure that there are some holes or slits for the pie to vent while cooking.
  10. Crack and lightly beat one egg (or mix maple syrup with water for a vegan version). Brush the mixture onto the top of the crust.
  11. Cover the edges of the pie crust with foil to prevent burning.
  12. Bake 40-50 minutes or until the crust is golden brown and juice begins to bubble through the slits in the crust. 
  13. Cool on a wire rack for at least 2 hours.

More Treats (and Possibly Tricks) from Emily

I hope you enjoy my apple pie recipe! Use it as a starting point and add your own spooky tricks to make it your own. If you enjoy this recipe, take a look at some of my other treats:

Vampire-Repelling Shrimp Scampi

Chocolate Coffee Halloween Cupcakes

Pumpkin Cupcakes with Cream Cheese Frosting

Have fun!

Halloween Drawings

Day 27 of the #Emilys100DaysOfHalloween challenge is: Draw a Halloween Picture. My artistic talents reside in photography, film, and papercraft. That, however, does not stop me from picking up a

Read More »

Learn a Halloween Song

Day 26 of the #Emilys100DaysOfHalloween challenge: Learn to Play a Halloween Song. I have been playing the piano since I was a little girl. I love to try new songs

Read More »

Spooky Artists

Day 25 of the #Emilys100DaysOfHalloween challenge is: Support a Horror Artisan. With AI slop flooding the world, now more than ever it is important to celebrate the creativity and beauty

Read More »
Categories
Food

Chocolate Coffee Halloween Cupcakes

Chocolate Coffee Halloween Cupcakes

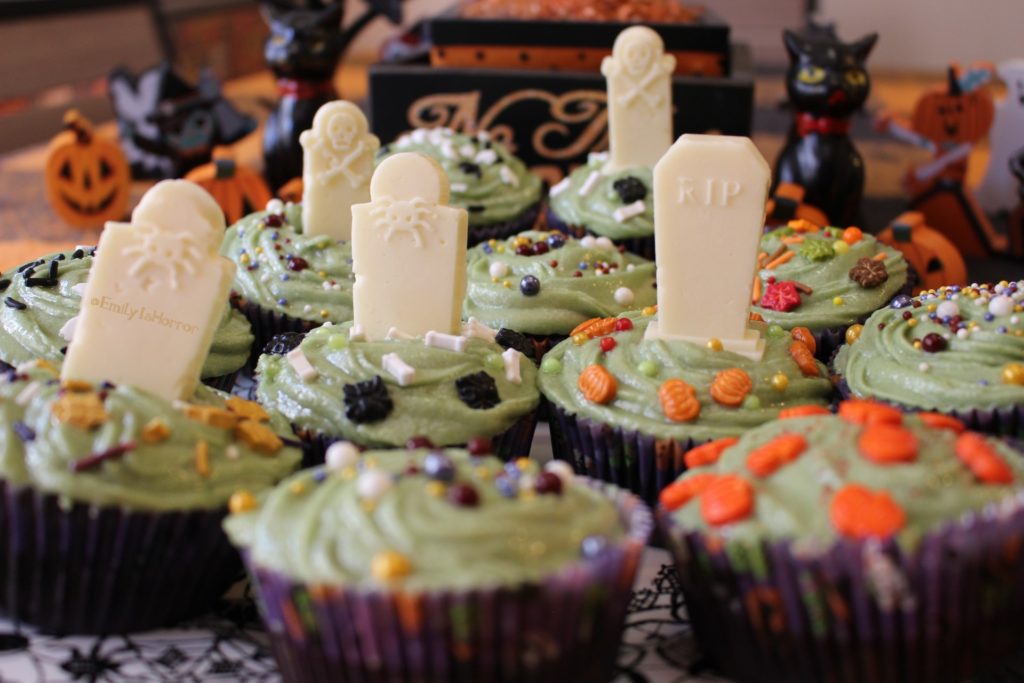
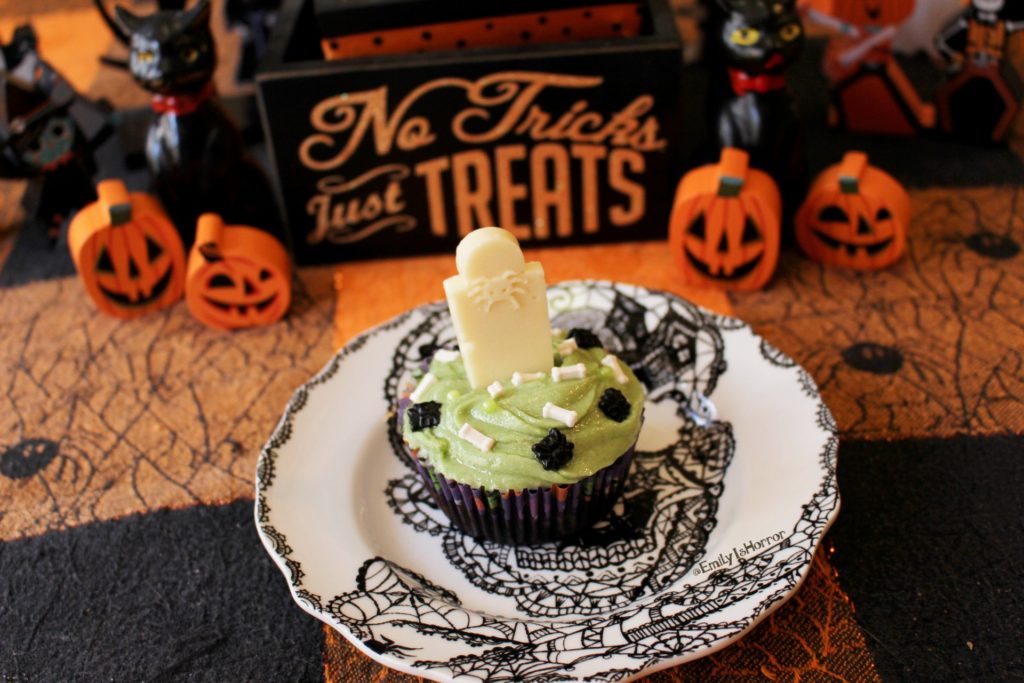
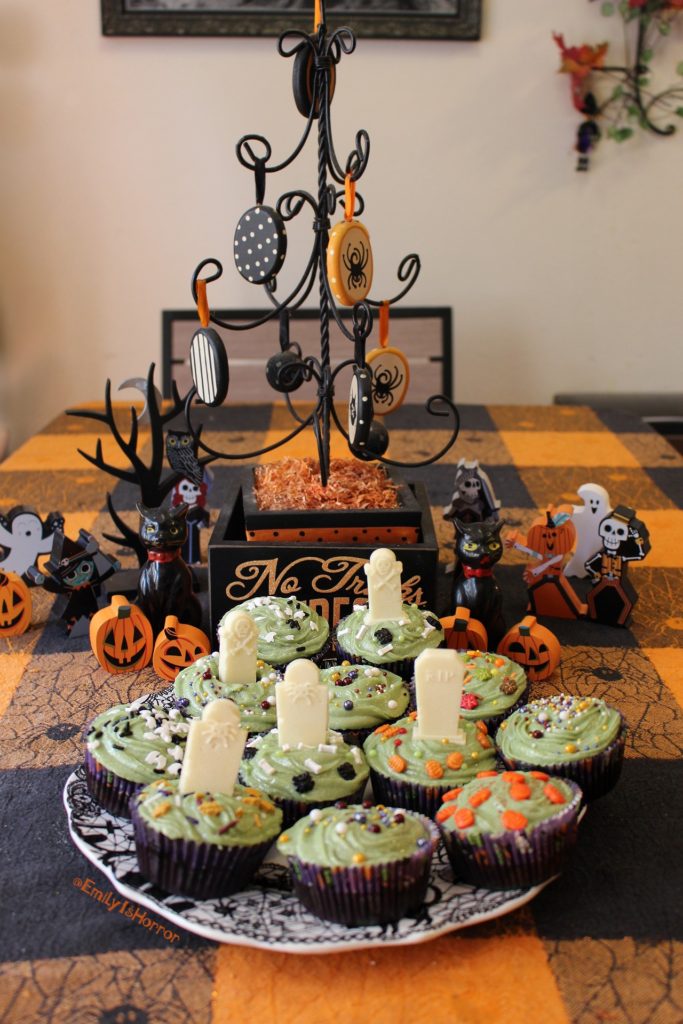
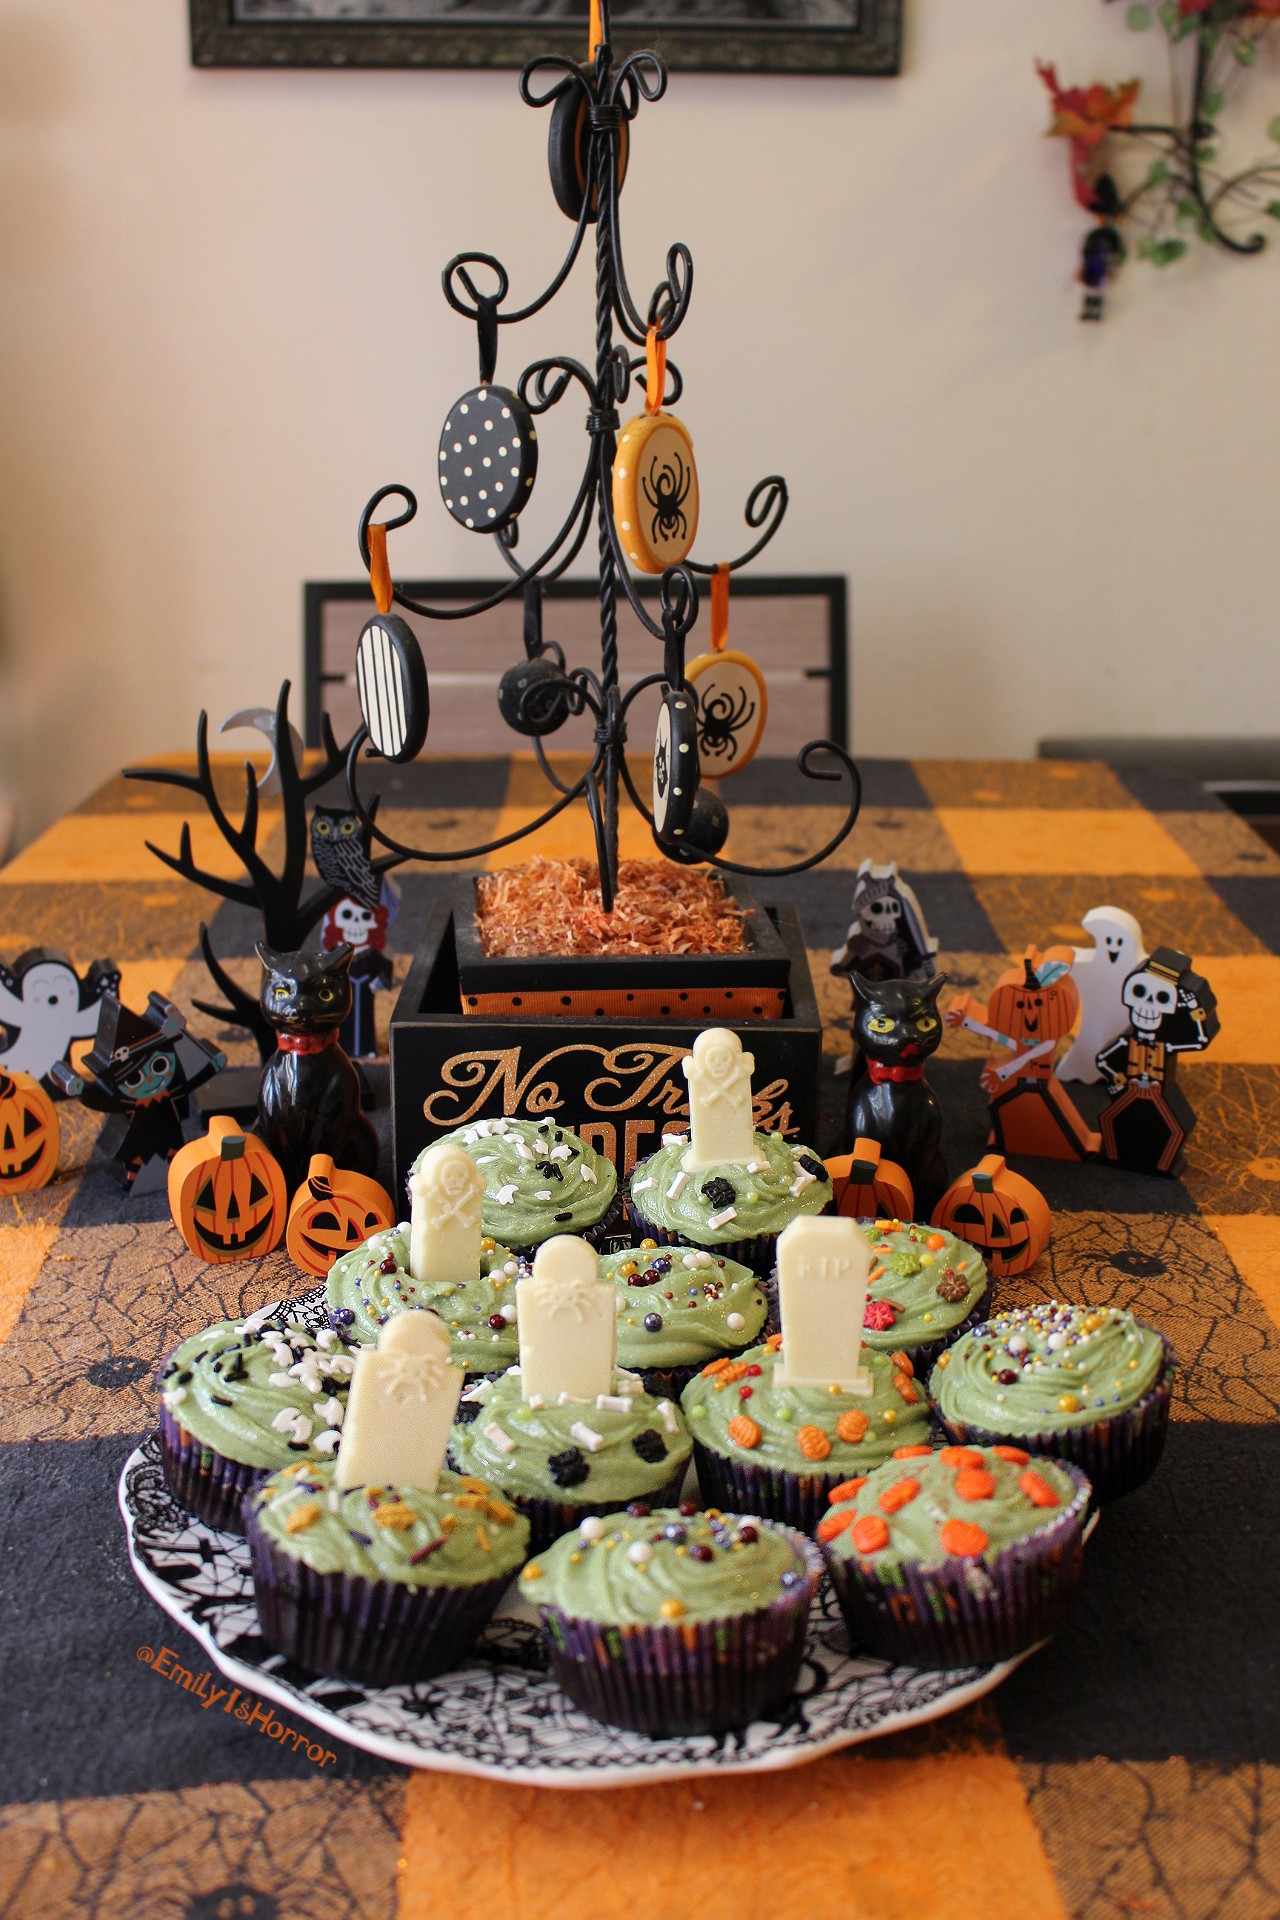
Chocolate Coffee Halloween Cupcakes with Cookie Dough Frosting and White Chocolate Tombstones

Are you looking for a way to add a fresh new twist to your standard Halloween cupcakes? Try these chocolate coffee Halloween cupcakes with cookie dough buttercream and white chocolate tombstones for a dreadfully delicious treat.

No tricks, just treats with this fun baked good!

The Cupcake Batter

The base of this recipe is a chocolate coffee batter. I highly recommend using Deadly Grounds Coffee with this recipe. Their house blend works very well with the chocolate flavor, or you can try some of their flavored blends to add additional complexities to the taste. Coffee flavors that may be fun to try are:

  • Death by Chocolate
  • Devil’s Night Roast (Chocolate & Pumpkin Spice)
  • Maple Bourbon
  • Pumpkin Spice

Now that you have selected your coffee, it is time to wrangle all the ingredients for the cupcakes:

  • 1½ cups flour
  • ¼ cup coco powder
  • 1 cup sugar
  • 1 teaspoon baking soda
  • ½ teaspoon salt
  • 1 cup coffee
  • 1 tablespoon white vinegar
  • ½ tablespoon vanilla
  • 1/3 cup olive oil

Step 1 – Preheat the oven to 350°F.

Step 2 – In a bowl, combine flour, coco powder, sugar, baking soda, and salt.

Step 3 – Add the coffee to the mixture, stirring thoroughly. Add white vinegar, vanilla, and olive oil.

Step 4 – Pour into 12 cupcake liners. Bake for 25 minutes or until a toothpick poked in the center of the cupcake comes out clean.

The Buttercream Frosting

Buttercream frostings are usually a bit boring for me (I prefer to use ganaches when possible), but this cookie dough flavor buttercream is surprisingly tasty.

The ingredients are simple:

  • ½ cup butter (softened)
  • ¼ teaspoon salt
  • ¼ cup brown sugar
  • 1 ¼ cup powdered sugar
  • 1/3 cup flour
  • 1 tablespoon milk
  • ½ tablespoon vanilla
  • (optional) chocolate chips
  • (optional) food coloring

Step 1 – Combine butter, salt, and brown sugar.

Step 2 – Add powdered sugar. Stir thoroughly.

Step 3 – Add flour. Stir thoroughly.

Step 4 – Add milk and vanilla. Stir thoroughly.

Step 5 – If desired, chocolate chips and/or food coloring can be added to the mixture. The frosting is now ready to pipe onto cooled cupcakes.

The Tombstones

Get out your favorite candy mold and make some tombstone toppers. For these, I just brought some water to a boil, placed a glass bowl over the pot with the boiling water, and melted white chocolate chips with about 1 tablespoon of butter.

Once thoroughly melted, pour the chocolate into the candy mold. Pop that mold in the refrigerator for at least half an hour, and then use them to top your cupcakes once they are frosted.

The mold I used was a Place & Time Orange Silicone Candy Mold Graveyard from Joann Fabrics.


The recipe makes about 12 cupcakes.
The Horror of Being Emily

Chocolate Coffee Cupcakes with Cookie Dough Buttercream Frosting

Try these for a fun Halloween treat!
Servings: 12 Cupcakes
Course: Dessert

Ingredients
  

Chocolate Coffee Cupcake Batter
  • 1 ½ Cups Flour
  • ¼ Cup Coco Powder
  • 1 Cup Sugar
  • 1 Tsp Baking Soda
  • ½ Tsp Salt
  • 1 Cup Coffee
  • 1 Tbsp White Vinegar
  • ½ Tbsp Vanilla
  • Cup Olive Oil
Cookie Dough Buttercream Frosting
  • ½ Cup Butter softened
  • ¼ Tsp Salt
  • ¼ Cup Brown Sugar
  • 1 ¼ Cup Powdered Sugar
  • Cup Flour
  • 1 Tbsp Milk
  • ½ Tbsp Vanilla
  • Chocolate Chips Optional
  • Food Coloring Optional

Equipment

  • Stand Mixer
  • Cupcake Liners

Method
 

The Cupcakes
  1. Preheatoven to 350°F.
  2. In a bowl, combine flour, coco powder, sugar, baking soda, and salt.
  3. Add the coffee to the mixture, stirringthoroughly. Add white vinegar, vanilla, and olive oil.
  4. Pour into 12 cupcake liners. Bake for 25 minutesor until a toothpick poked in the center of the cupcake comes out clean.
The Frosting
  1. Combine butter, salt, and brown sugar.
  2. Add powdered sugar. Stir thoroughly.
  3. Add flour. Stir thoroughly.
  4. Add milk and vanilla. Stir thoroughly.
  5. If desired, chocolate chips and/or food coloring can be added to the mixture. The frosting is now ready to pipe onto cooled cupcakes.

Need something savory before this decadent dessert? Try my Vampire-Repelling Shrimp Scampi.

Enjoy!

Halloween Drawings

Day 27 of the #Emilys100DaysOfHalloween challenge is: Draw a Halloween Picture. My artistic talents reside in photography, film, and papercraft. That, however, does not stop me from picking up a

Read More »

Learn a Halloween Song

Day 26 of the #Emilys100DaysOfHalloween challenge: Learn to Play a Halloween Song. I have been playing the piano since I was a little girl. I love to try new songs

Read More »

Spooky Artists

Day 25 of the #Emilys100DaysOfHalloween challenge is: Support a Horror Artisan. With AI slop flooding the world, now more than ever it is important to celebrate the creativity and beauty

Read More »
Categories
Food

Vampire-Repelling Shrimp Scampi

Vampire-Repelling Shrimp Scampi

Shrimp Scampi Recipe

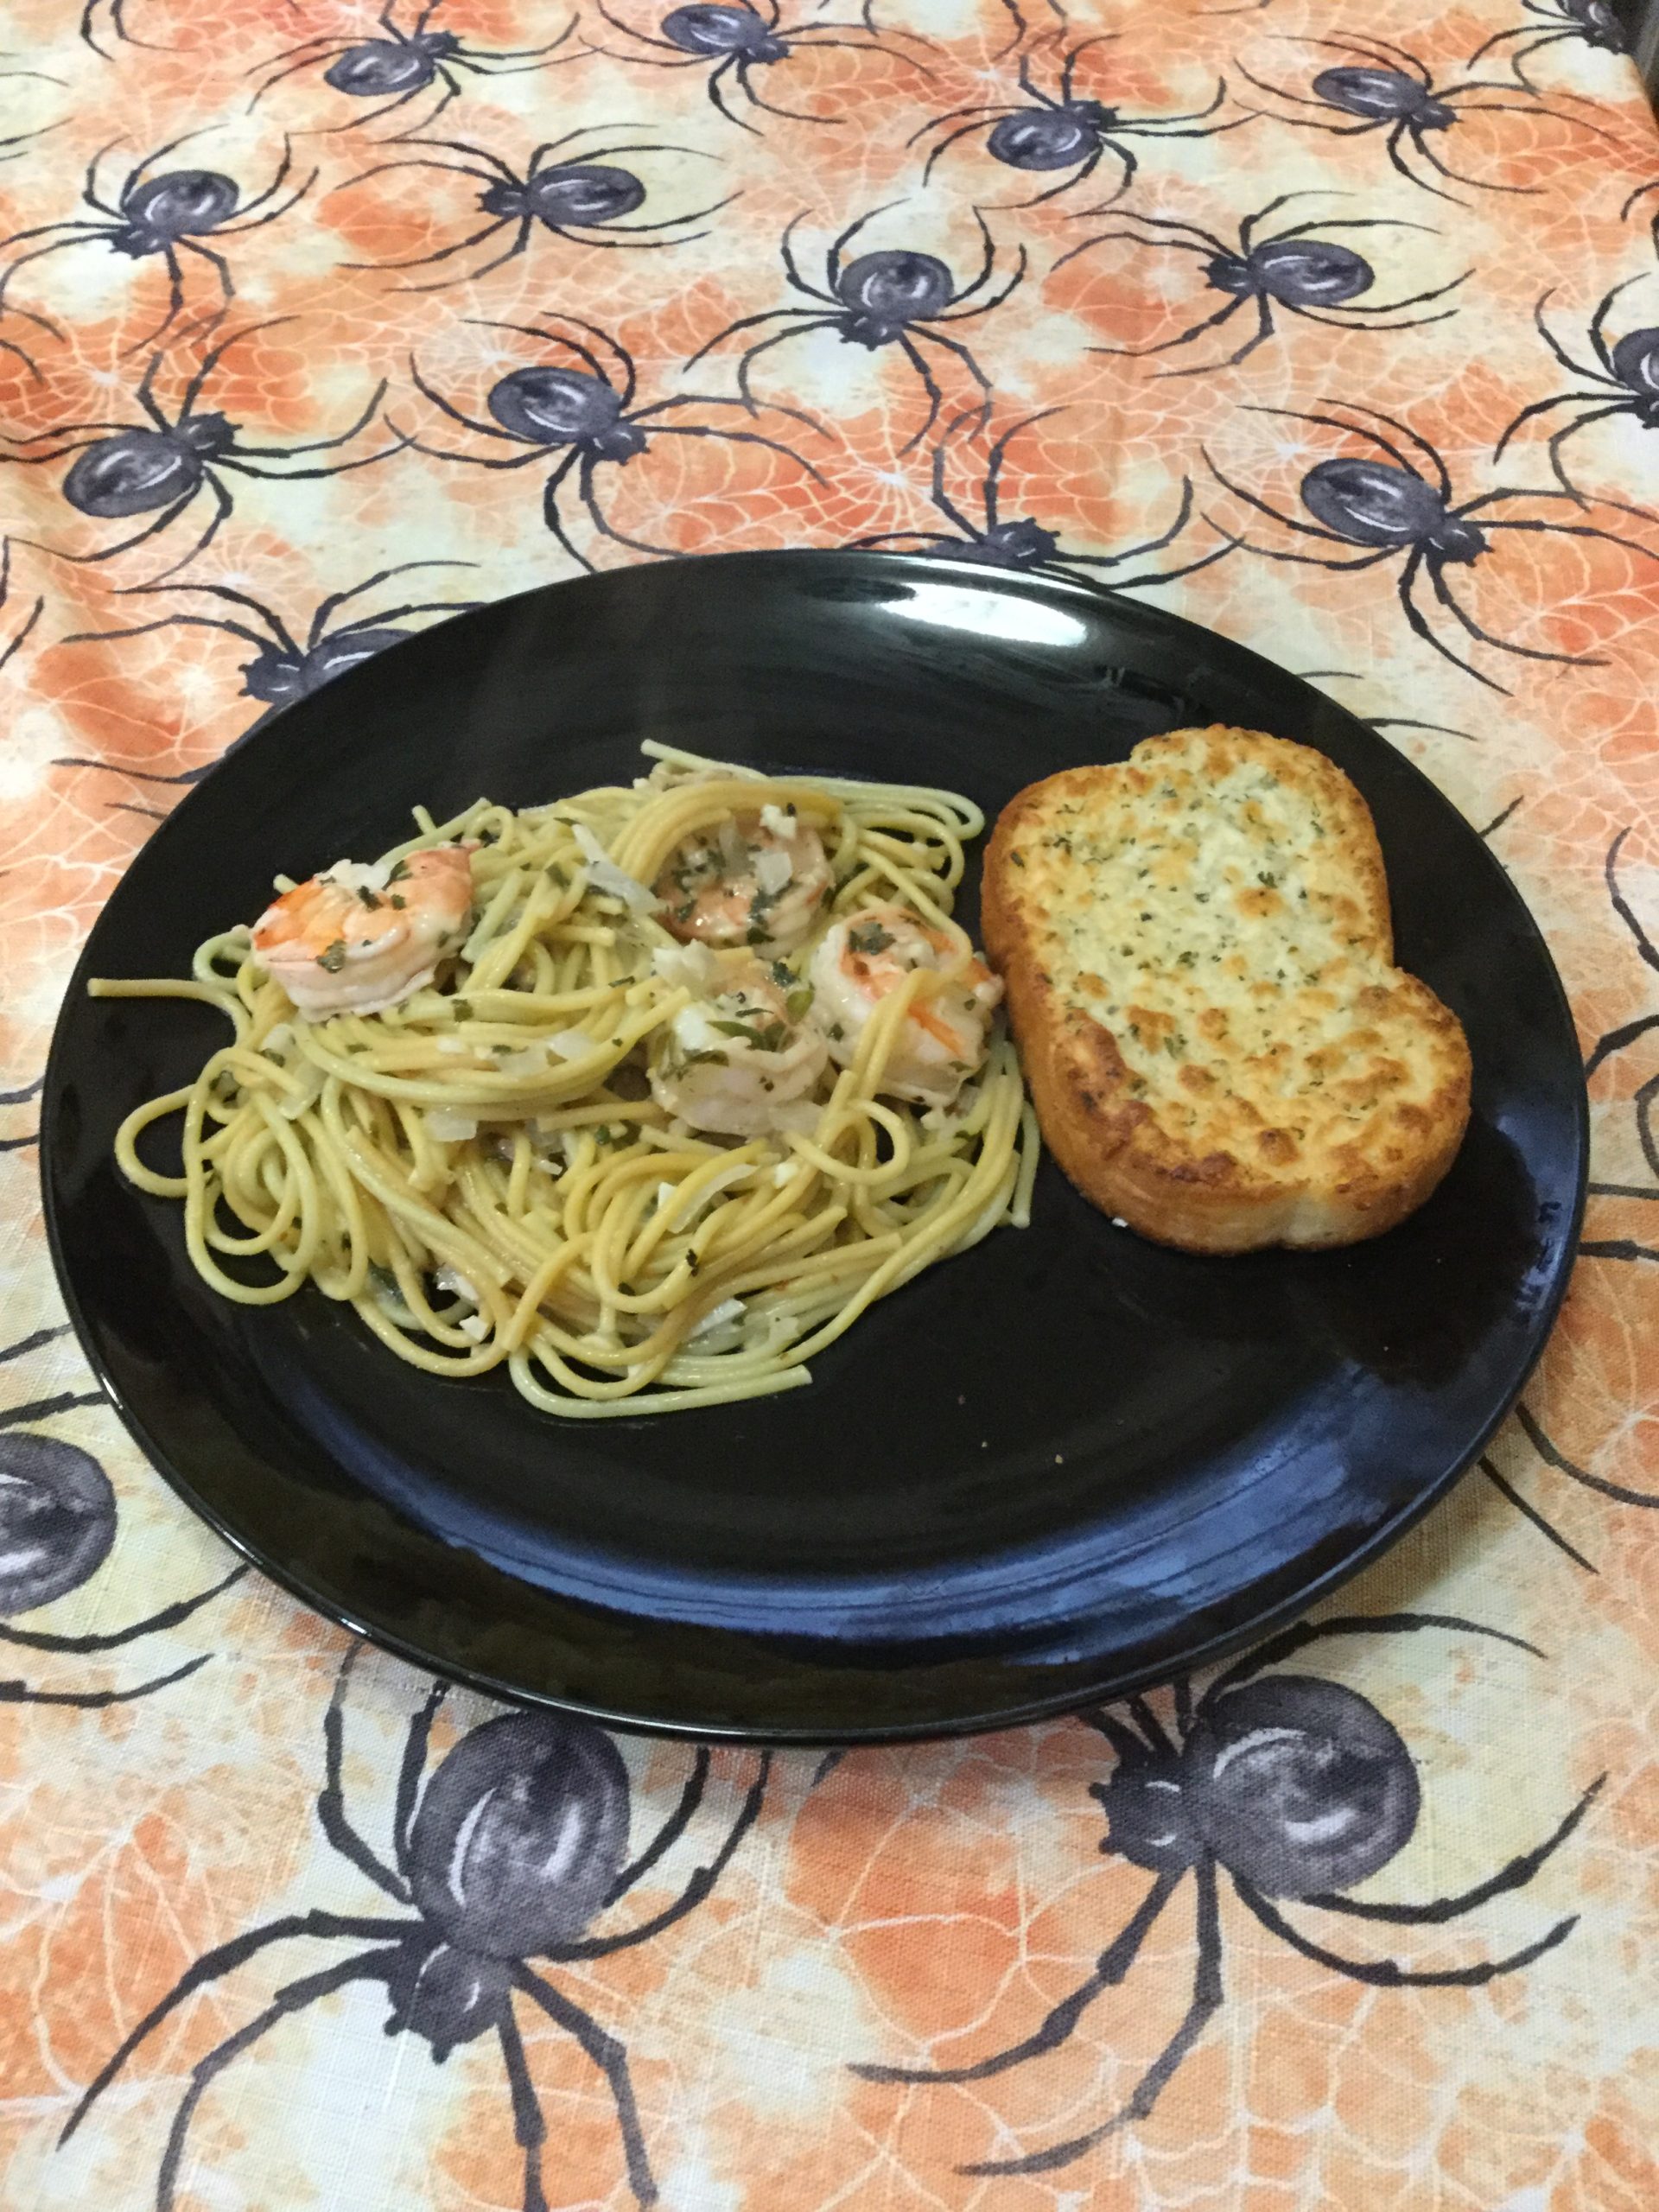
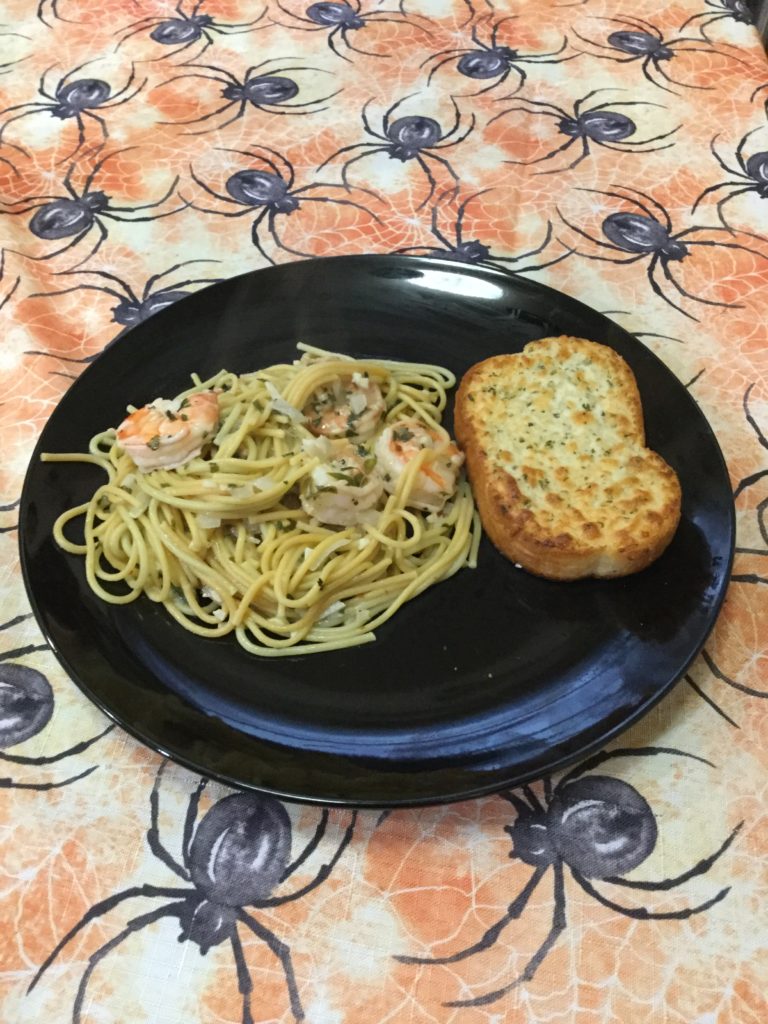
Today’s post will focus on the recipe for Vampire-Repelling Shrimp Scampi. This garlic-rich recipe is simple, yet delicious. I love to make this recipe on a Friday night before watching a horror film or two. Last time I made it, the kitchen smelled like garlic for an entire day afterwards, ensuring that we were safe from creatures of the night (and any visitor, really).

As with most scampi pasta dishes, this recipe can be highly customized and you can change it up depending on the ingredients you have on-hand. For a pop of color – add sun-dried tomatoes. Mushrooms can be added for extra Vitamin D. The possibilities are limitless!

Basic Vampire-Repelling Shrimp Scampi Recipe(Makes about 2 Servings):

Ingredients:

  • 2 tablespoon olive oil
  • 3 cloves garlic, minced
  • 2/3 cup onion, diced
  • ¼ cup fresh basil
  • ¼ teaspoon crushed red pepper
  • 1 tablespoon parsley
  • ¼ teaspoon salt
  • ¼ teaspoon pepper
  • 16 large shrimp, peeled & de-veined
  • 8 tablespoons unsalted butter
  • 2 tablespoons lemon juice
  • 1/3 cup white wine
  • 2 tablespoons Parmesan cheese
  • 2 servings spaghetti
  • Optional – ½ cup mushrooms, chopped
  • Optional – ¼ cup sun-dried tomatoes

Step One: Prep Pasta

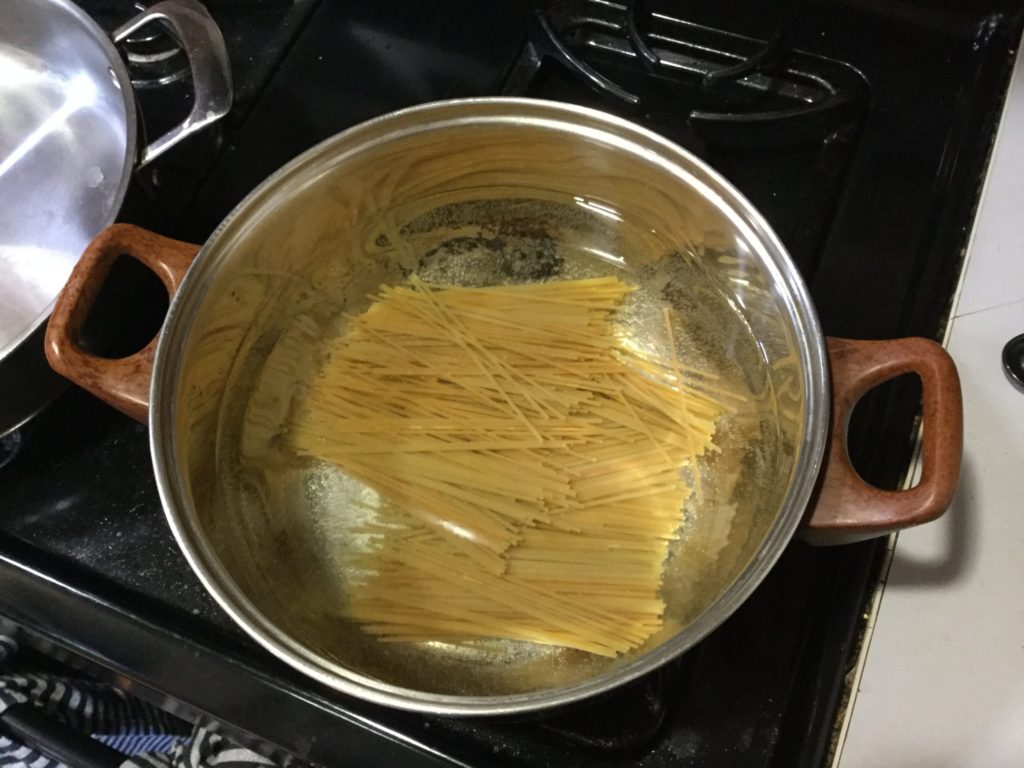
Bring a pot of salted water to a boil and add the spaghetti. Cook until tender.

Shrimp Scampi Pasta Uncooked

I chose to use orange and green vegetable pasta for a more Halloween-feel, but once cooked they did not have as bright colors as I had hoped. If you have a higher budget, specialty squid ink pasta has a delightful black color to make this meal very spooky.

Step Two: Brown Onion & Garlic

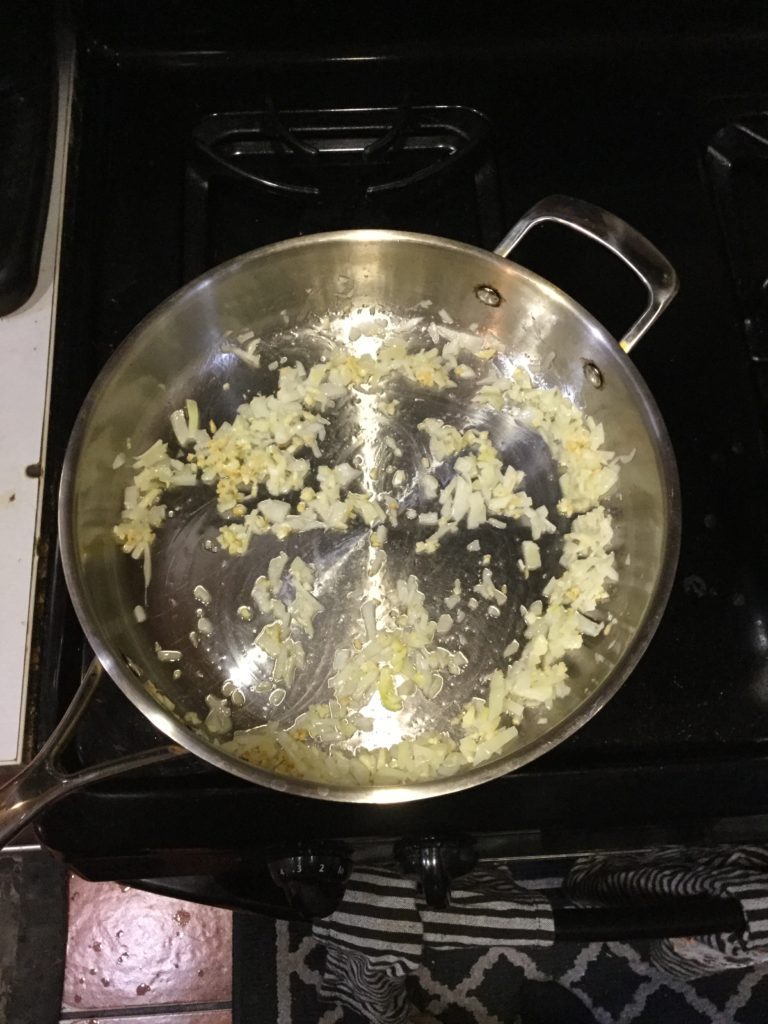
Heat the olive oil in a large pan on medium heat. Add the onion. Let brown. Add garlic.

Brown the onion and garlic in your large pan.

It typically takes about five to eight minutes for the onion to brown, depending on your pan. You can stir occasionally and/or rotate the pan to make sure all the onion is browning mostly evenly.

Step Three: Cook Shrimp

Add the shrimp (and optional mushrooms) to the pan. Season with the basil, crushed red pepper, salt, pepper, and parsley. Flip the shrimp once the underside is a bright pink. Cook through.

Step Four: Add Scampi Sauce Ingredients

Add butter, lemon juice, white wine, and parmesan cheese. The optional sun-dried tomatoes can be added as well. Stir occasionally for 5 minutes.

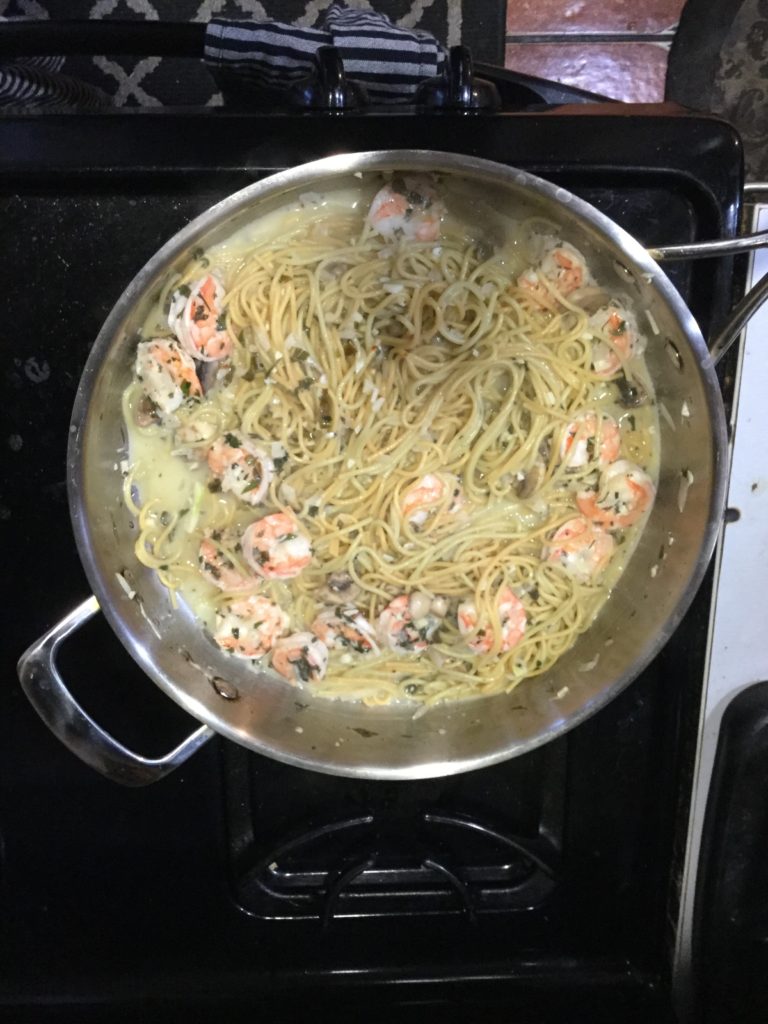
The shrimp should be a nice pink color once cooked through.

The scampi sauce will reduce during this time. You should be able to smell the garlic throughout your kitchen by this time. Vampires beware!

Step Five: Combine

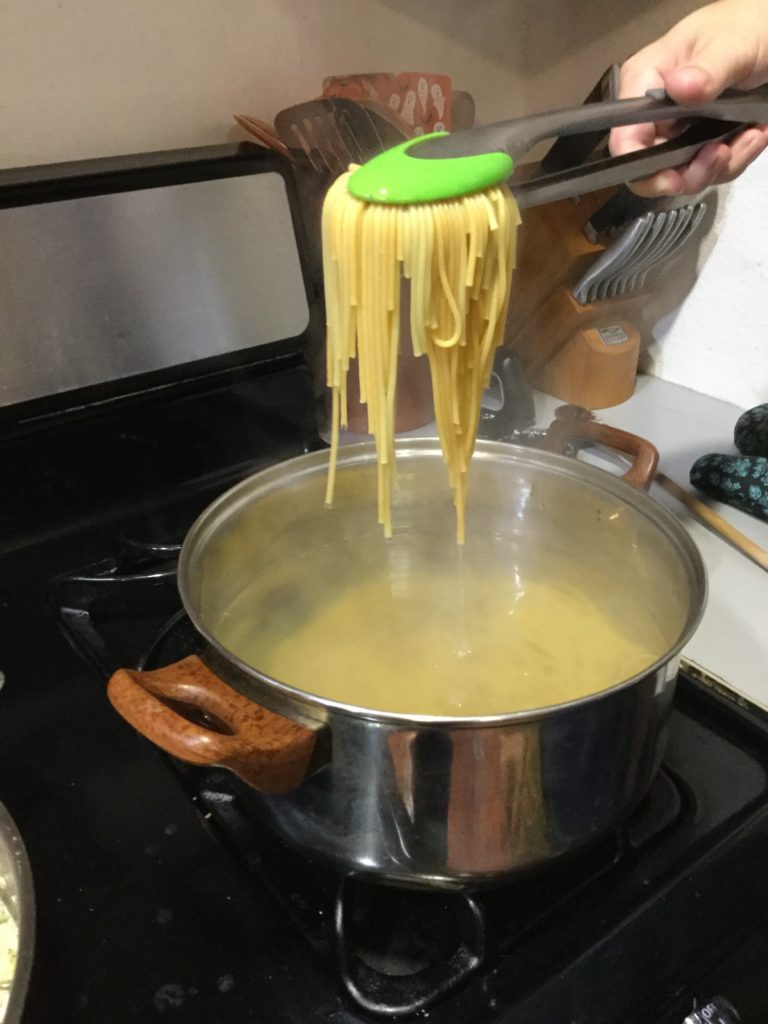
We have not forgotten about the pasta! Remove the cooked spaghetti from the pot using tongs and place into the pan with the shrimp scampi mixture. Use tongs instead of draining the pasta – bringing over some pasta water with the spaghetti helps the scampi sauce to stick to the noodles more.

Using tongs allows some of the pasta water to be brought over with the spaghetti.

Thoroughly coat the spaghetti with the scampi sauce.

Mix it well.

Now, you just have to plate it. Add your favorite garlic bread for a complimentary side and you are all set! For those more vampire-friendly individuals, you can reduce or cut down on the garlic, but I love the strong garlic taste.

Shrimp Scampi Recipe
Vampire-Repelling Shrimp Scampi

Enjoy!

Vampire-Repelling Shrimp Scampi

Shrimp Scampi Recipe
The Horror of Being Emily

Vampire-Repelling Shrimp Scampi

Learn to make this garlic-heavy shrimp scampi, the perfect recipe to repell vampires and other creatures of the night. Easy to cook and made to impress!
Prep Time 10 minutes
Cook Time 25 minutes
Total Time 35 minutes
Servings: 2 Vampire Hunters
Course: Main Course
Cuisine: Italian

Ingredients
  

  • 2 tbsp olive oil
  • 3 cloves garlic minced
  • 2/3 cup onion diced
  • 1/4 cup fresh basil chopped
  • 1/4 tsp crushed red pepper
  • 1/4 tsp salt
  • 1/4 tsp black pepper
  • 1 tbsp parsley
  • 16 large shrimp peeled, de-veined
  • 8 tbsp unsalted butter
  • 2 tbsp lemon juice
  • 1/3 cup white wine
  • 2 tbsp Parmesan cheese
  • 2 servings spaghetti
  • 1/2 cup mushrooms (optional)
  • 1/4 cup sun-dried tomatoes (optional)

Equipment

  • Large Pan
  • Large Pot
  • Tongs

Method
 

  1. Bring a pot of salted water to a boil and add the spaghetti. Cook until tender.
  2. Meanwhile, heat the olive oil in a large pan on medium heat. Add the onion. Let brown. Add garlic.
  3. Add the shrimp (and optional mushrooms) to the pan. Season with the basil, crushed red pepper, salt, pepper, and parsley. Flip the shrimp once the underside is a bright pink. Cook through.
  4. Add butter, lemon juice, white wine, and Parmesan cheese. The optional sun-dried tomatoes can be added as well. Stir occasionally for 5 minutes.
  5. Remove the cooked spaghetti from the pot using tongs and place into the pan with the shrimp scampi mixture. Thoroughly coat the spaghetti with the scampi sauce.

Halloween Drawings

Day 27 of the #Emilys100DaysOfHalloween challenge is: Draw a Halloween Picture. My artistic talents reside in photography, film, and papercraft. That, however, does not stop me from picking up a

Read More »

Learn a Halloween Song

Day 26 of the #Emilys100DaysOfHalloween challenge: Learn to Play a Halloween Song. I have been playing the piano since I was a little girl. I love to try new songs

Read More »

Spooky Artists

Day 25 of the #Emilys100DaysOfHalloween challenge is: Support a Horror Artisan. With AI slop flooding the world, now more than ever it is important to celebrate the creativity and beauty

Read More »